After playing with the sample application provided with OpenShift, I wanted to check how to deploy my own application.
I decided to go with a very basic application created using SeamForge, a rapid application generation tool which is a part of the Seam framework. What's nice about SeamForge is that it also lets you to take an existing Java EE project and work-in new functionality.
Following the SeamForge documentation (7 simple steps and 9 commands) I generated a basic Java EE CRUD web-application.based on JSF, Facelets, Seam and Metawidget.
By the way, there is an open issue at the SeamForge Jira for directly deploying Forge application to OpenShift.
Next I went on to deploying an running the application on OpenShift:
The first step was to create a new application (applications --> add application).

Once the application is named and given a version, it is time to decide which infrastructure components are required for running the application. In order to do so, you need to choose the newly created application from the applications list and select the "Components" tab.
In this case I only needed a JDK and a JBoss application server (version 6 or 7). There was no need for an external database since the application uses the JBoss default datasource.

Next step is uploading the application files. Staying in my new application context, I switched to the "Files" tab and chose to upload the application war file. Notice that choosing to import an existing application requires a file in VPM format (and not a Java archive as I tried before RTFM).
After uploading, OpenShift automatically extracted my war file. From the "Files" tab I can now view my application files and edit them (in a very simple editor). This is very useful if you want to make some configuration changes without sending filed back and forth to the server.

Since I had nothing more to configure I went on to deploying the application.In a more realistic scenario this would be the time to perform some configuration tasks on the various infrastructure components. OpenShift provides a way to configure the component using a wizard, which is actually a form with all the major configuration details, or expert mode which allows you to directly edit the configuration files.
So, last step was choosing to deploy all changes, which actually meant deploying the application to JBoss.
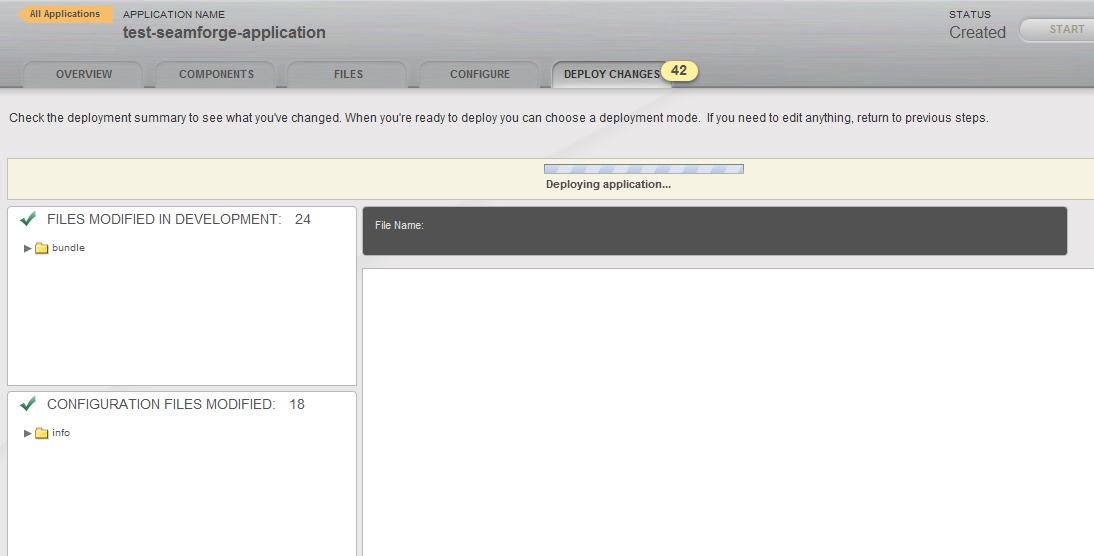
After the last step I had a deployed application which can be tested.
The "Overview" tab of the "Applications" section has all the information required for accessing your application.
Latest step was checking the application is actually working

Of course this is a very simple application and not a real life scenario, and yet it shows a little about the power of RAD + PaaS.


1 comment:
Thanks you for sharing. it was excellent and very informative and really helpfull for me share it more thanks..!
Crack Software Download | Cracked Software
Post a Comment